March 28, 2016

Patch Jacket

I've collected patches for a while now, but they have just been affixed to random items or sitting in a drawer. I have been looking for a jean jacket, but every one I try on seems too heavy or not to fit right.

Recently I was out shopping with my family at an outlet mall when we happened to go into the Columbia outlet store. If you don't have one around, they sell outdoor clothes, coats and shoes. They had these really comfy canvas jackets and after trying it on three or four times in that same trip, I figured I'd better get it, or regret it. I can't tell you where to get one if you want one, as the outlet store sells stuff that isn't on their regular online store.
the jacket. teal lining was a big selling point.
For being an outlet store, I was still thinking that $35 for the jacket was a bit much, especially as I wanted to modify it. I love the length on it, but there is this odd string in the center, I guess to make it gather at the waist, but it's annoying, so I pulled it out. Second, it has two really good pockets for your hands that have two different pockets in one. However it also had two pockets up over my boobs, which were odd, so I removed them carefully. Now that I had a more blank canvas (ha!) to work with, I could start planning out where I wanted to put the patches.

Thankfully I had gotten a bunch of Amazon and Etsy money, so I was able to make a huge list of things I like, figure out what I was missing, and find patches for them without going broke. I also got a custom patch to put where a name would normally be embroidered, but of my twitter/tumblr/instagram handle. In total, I probably spent a good $80 on patches alone, amassing forty some odd patches.

Figure I will give a shoutout to those Etsy shops that I bought from:
Steven Universe Gem Weapons: Coey and Shy
@Khyarete patch: The Applique Patch
Pacific Rim and OtGW Rock Fact: CuddleTurtle
Better Be Dogs: MonsterOutside
White Lotus/ATLA and The Prince from Katamari Damacy: Cherriesama
Animal Crossing Leaf: Kawaiian Pizza Apparel
Happy Milk: PatchNation
Coraline: Craftsylvania
Ash from Fantastic Mr. Fox and the Bigfoot: For the Love of Patch
I have to say, For the Love of Patch is a truly excellent store. He has and is working on some really nice designs and I really love the ones I got. I've got three or four patch ideas from shows I love, that I can't seem to find anywhere. As he also can make custom patches, at some point I am going to send him my designs.

Others I have collected include:
two Terlingua, TX/ Day of the Dead
three Big Bend National Park
Camp LaJita (Girl Scout camp near San Antonio)
Soviet Space and Recycling (from husbands old cub scout vest)
Kwik-E-Mart (Simpsons from Universal Studios, Orlando)
ThinkGeek Starbase: Texas from the Hurst Mall Location
Jukebox the Ghost (band)
Sailor Mercury symbol and Chibi figure
Ravenclaw house emblem (Wizarding World of Harry Potter, Orlando)
Rebels Against the God crest (Angel Beats anime)
BPRD patch (Hellboy)
Ouran Acadamy crest (Ouran Highschool Host Club anime)
Eternal Scout patch (Welcome to Nightvale podcast)
Stargate SGU
Jurrasic Park
Planet Express (Futurama)
Meat Popsicle and Council of Federated Territories (Fifth Element)
Totoro with a mushroom

thread box borrowed from mom in law
As for actually applying them all to the jacket... well I hand sewed each on. Some only after removing as much iron on glue as possible, or where not possible, doing both ironing on to soften the glue and then hand sewing. As I suck at sewing this was slow going, especially on the arms. I'm sure I did it all wrong, but I used a small, thin and very sharp needle for getting through the layers of canvas, glue and embroidery and by the time I finished it was a C shape from the struggle. My fingertips will never be the same.
the finished front, for now. mostly used for odd size and my favorite ones.
I decided it would be more fun to just have them all mixed up together as best they fit, so that I wouldn't need to worry about having all the scout ones together and camping ones together, especially if I have room to add more. Instead I started looking at size and shape similarities, laying them out so they looked somewhat symmetrical and organized. 
finished back for now. symmetry emphasized
At the time of writing this, I am still collecting more patches, and have at least two more out on order. Not to mention ideas for my own custom ones I want, so I guess keep an eye out for updates as I add more.
the two sleeves, figured crests of organizations would be coolest here.
I am super in love with this jacket now. I wore it out in Austin, with only about 15 of the patches on and got compliments and smiles wherever I went. It is a great piece to start conversations and attract like minded individuals, if the blue hair wasn't enough. Can't wait for fall.

Time to complete: 80-90 hours

Update: Got several new patches. Cryptozoology as part of the set of alternative scouting badges from Luke Drozd. The tornado to my love of the movie Twister and weather science in general, from Patchtown on Amazon. Pawnee Goddesses from Parks and Rec from Ferdinand Works. 'Za Lord's Guard from the Dresden Files novels from Pop Culture Patches.

March 21, 2016

Green Shell Purse

For my birthday a friend gifted me some yarn from her stash. Of the four skeins she gifted me, one was Be Sweet Bamboo in Khaki Green. It's a very soft small skein of about 110 yards.

As I only had one skein I checked around Ravelry for something small and suitable for one color. For some reason this yarn wanted to be a little purse and luckily enough I found a good pattern. It's a free pattern by Pierriot Yarns called KC Shell Stitch handbag. Note: It is only written as a diagram with minimal directions, so hopefully you can read those if you want to make one.

The base of the purse is a pretty standard circle and works up fast despite using such a small 3.5mm hook.

I did have trouble starting into the shell rows as I was unsure how row 1 of the shells lined up with the last row (13) of the circle base. If you are also having trouble, know that it worked out for me to skip three sc between the first and last dcs of the shells and the sc anchors between. You should also be able to tell that because row 2 has three chains between each hdc cluster.

For row 2 of the shell part, you do chains and a "3-hdc bobble" which turns out is not what my instincts told me it would be. I used this video by Bethintx1 to learn how to do it properly, working the yarn over and through three times as indicated.

Personally I dislike the holes in between the shells being so open, when you could easily do another shell instead of the puff to make that space smaller. I feel like stuff might fall out the way it is. Course it would not be hard to line this purse either. In any case I just followed the pattern as written.

I did not end up doing all 7 rows of the net stitch at the top since I was running out of yarn.
As it was I was only able to do one full drawstring of 70 chains, and the second was 60 chains before I ran out. Close enough though that I still used both and I think they do alright.

It is a very thin but soft bag and the bottom disk stays nice and open. I could easily fit my iPhone 6 plus, wallet and keys, but not much else. I also like how small it is, perfect for travel. I might have to try to make one in a nicer color though; silver or black perhaps.


Difficulty: Easy + (for reading patterns)
Time to complete: 5 hours

March 14, 2016

Big Girl Camera

My hubby got me a belated christmas birthday present recently... an Olympus OM-D.

Not gonna lie, this camera is intimidating. As an art history student and graphic designer, I like to think I can tell a good photo from a bad one pretty quick. I've skirted the edges of photography, by studying composition, lighting and subjects from art sources. Sure, I've had several cameras before, but I used them on auto, and none have ever had interchangeable lenses.

Since he has become the photo teacher at our school, our interest in Photography with a capital P, has only increased. He's always been a photographer, but was limited to the iPhone. Photography is an excellent hobby, super fun, creative, portable, but terribly expensive if you want to get serious. But like my time making prints in college, it is a challenge that is time consuming to get right and much harder than it looks.

Anyway, instagram is a good place to get inspired and I love to see the travels of Momo and Andrew Knapp.


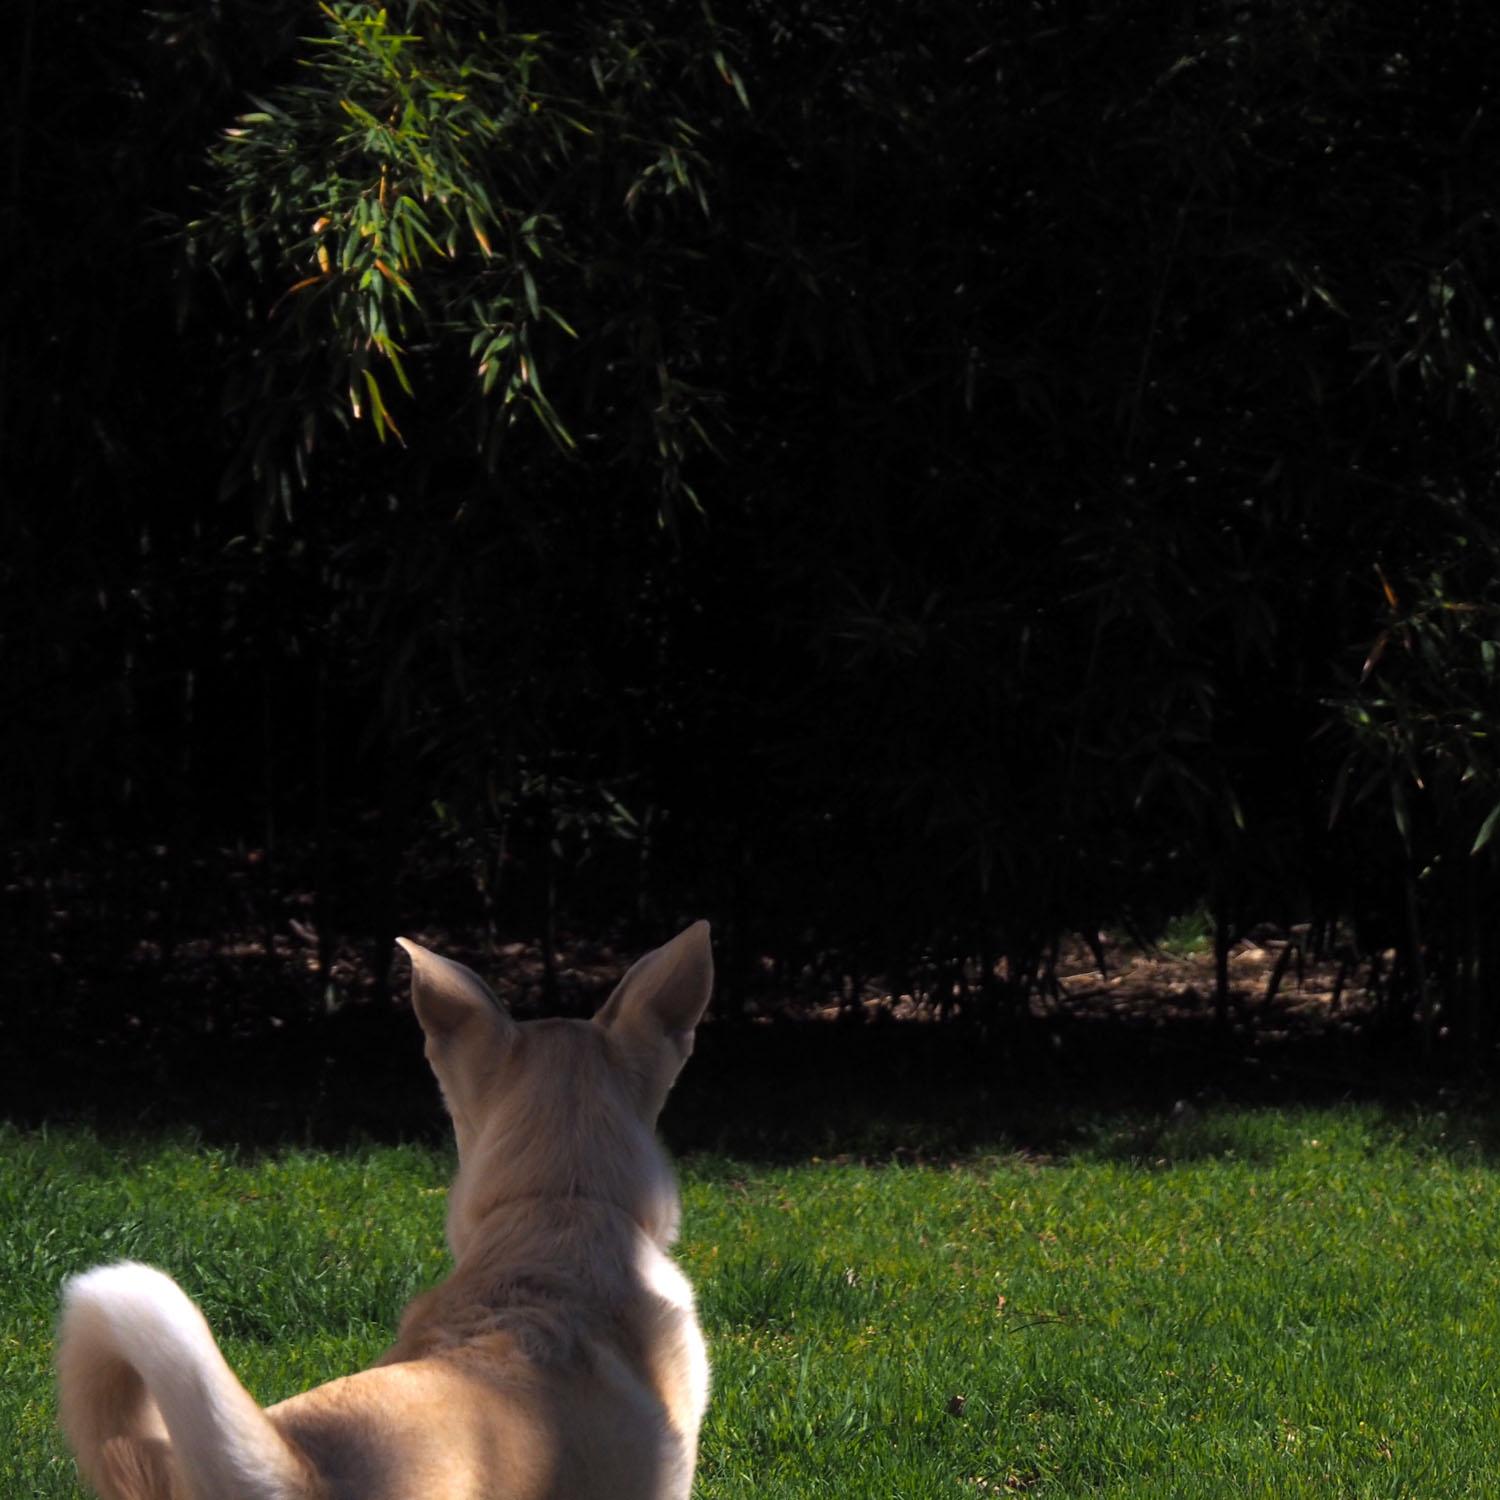
His class was free only for the week it was posted, so of course I signed up and watched the 40 minute class, took a few notes and went into the back yard with my own muse of a mutt, Gingko, my 5 year old husky mix. She's not much for posing, but loves to explore the back part of our yard which is a bamboo jungle.

I tried to follow the advice of a theme and trait, while also providing a wide, medium and close shot, as well as take some baby steps moving off of auto and into manual mode! Scary.
Theme: Gingko. Trait: Her exploratory nature

into the unknown of the bamboo
skirting the edges of the forest
target locked
I had a lot of fun with this, and getting up and out for even a little bit at lunch helped combat the constant couch sitting that is my day job. With this camera being so compact, I plan to just keep it on me at all times now. The trips we are planning in the future have just one more thing to look forward to... learning to take some great photos.

Yeah for trying new things! I've started a Flickr page for myself to try to motivate me to share, grow, and keep at it. Check it out if you like.

March 7, 2016

Blue Spider Lattice

A local knitting instructor passed away in December and one of the local yarn stores she taught at, Jennings Street, informed their customers in an email that she would have what amounted to a yarn estate sale. We went the first day mostly out of curiosity, and I ended up leaving with a bunch of new stuff.
Pretty but I actually dislike using them a lot.
I got four rosewood crochet hooks, and two bags of yarn, one with about five skeins of Issac Mizrahi Craft yarn in pink with gold sequins, and another with five skeins of a sparkly blue all for $23! The pink I figure I will use to make something for my sister, as the yarn kind of screamed her name, but the blue I thought I could make into something fun.

The blue yarn is called "Sunshine" by Trendsetter Yarns and is made in France... fancy. It seems to be discontinued and the label has not much info on it. Ravelry to the rescue as they have all the info like weight category and hook size. It says worsted, but it feels thinner than a regular worsted and has this kind of odd metallic crispness to it.

That crisp feeling made me think I would not like it as a scarf, although I did think about it since some of the reviews said this yarn made great fringe. Instead I ended up trying out the Spider Lattice Stole pattern by Cathy Campbell which is free on Ravelry. When starting to work on the initial foundation sc row I think I made the right decision.

The pattern itself is eight repeating rows and once you do them once it is a no brainer to work the rest with no reference to the pattern. I love ones like that. However it is a bit boring, so I was able to listen to an audio book while working it up and that made it go much faster.

The sheen of the fabric it creates is a bit odd to look at. I have to think any smaller stitch or details would get lost in the texture of the yarn, so the large, uncomplicated, open work pattern suited it well.
The shine makes it kind of pretty and a bit more like evening wear or something you might throw over a black dress.

I had a lot of fun making this quick and easy stole.

Difficulty: Easy
Time to complete: 8 hours
Finished size: 12" x 56"

February 29, 2016

Bluestone Sweater

I have had six skeins of Plymouth Encore tweed yarn in blue sitting in a bag for what felt like forever. These were originally for a tunisian vest, but you might remember after working on it and getting discouraged, I frogged the project and set the yarn aside.

I've been looking for something to do with it and when I saw AllAboutAmi's Granite Cape, I thought it might just be perfect. The only problem is that I had 6 skeins, and her pattern called for 7 skeins. Since I was unsure from her instructions of the exact total yardage, and was unable to get any more tweed in the same dye lot, I went to Joann's and found three more skeins of Patons Classic Wool yarn in New Denim, which I thought complimented the blue tweed nicely. My plan then is to use the tweed for the body of the cape and the darker yarn for the sleeves, collar and bottom ribbing. So, since my sweater is in shades of blue, I am calling mine the Bluestone Sweater, since her's is the Granite Cape... granite is the stitch, but ya know, also a rock, like bluestone!

As suggested I did work up a small test square to make sure I understood the granite stitch and make sure I wasn't loosing or adding any.

I decided to make my cape a bit wider than hers, as I generally buy XL sweaters, but as I am also around 5'5", so I left the length were it was, but increased the width by starting with more chains... except that I hate starting projects on chains, so I instead worked up a row of foundation single crochet to start from, which also made working the granite stitch a little easier on the first row. I just needed to remember to work the last row on the front panels in sc so it matched.
foundation sc starting row at the bottom
I started with 131 fsc but after working up several rows, I bothered to measure it and realized it was way too wide. Turns out 131 fsc with my 6.5mm hook was almost 34 inches wide. Hers was only 27.5 inches wide... and I'm not that fat. I frogged it down to the fsc row and measured again, this time keeping it around 29 inches wide, which was about 107 fsc.

I also needed to make sure that I could work the whole body piece with the 6 skeins I had, which meant 3 for the back and 3 for the front. The crochet itself was a breeze to work through. With the white flecks and the subtle stitch texture I really love how this was turning out. Final size of the back piece, after using up three skeins, was 29 inches wide by 28 inches tall, which is a bit shorter than hers, but was still a nice length when held up to me. I was worried this was wider rather than longer, but knew that I was going to be adding a border on the bottom, so felt ok about it. Total height in rows was 95 rows.
After that you start onto the front panels. Personally it totally annoys me that when you work the panels on like this and then fold them down over the front, the stitches on the front are then upside down as compared to the back. Oh well, it isn't too noticeable with a stitch like this, but if it was shells or something it would be super obvious. I was also sure to remember to work my last row in sc only so as to match my starting foundation sc row. If you are following along with me, I did 5 rows of decreasing, 88 rows of 47 stitches across, and one row of sc at the end to match the 95 row total from the back panel.
Once both panels are down you work the collar; for me 197 sc around. My collar was the first bit made in the new, darker blue wool. It is a bit thinner than the tweed so it did not create quite as plush of a fabric, but still showed the ribbing detail and really looked nice together.
Lost the game of yarn chicken at the sleeves...
After the collar I moved on to the sleeves. I didn't realize at first that there is an extension of a sleeve and then a ribbing on that as well. Unfortunately after the body I had very little yarn left of the tweed. I lost the game of yarn chicken and did not have enough tweed leftover for even one sleeve, which I do think would have looked nicer. So instead I remade the sleeve in all dark blue since I had plenty of that still on hand. In the end it still looked nice in the dark blue.

Instead of sewing the end of the sleeve closed, I worked slip stitches along the join and then worked the edging directly onto the sleeve. I added one extra row of blsc since I wanted the sleeve to have three ridges, like the collar edging. Working the pieces together saved me some time in sewing, which I also suck at. (74 sc around sleeve)

At this point I sewed up the sides and then added the sleeves. I also did this all on the wrong side and used a whipstitch. My seam always ends up curved a bit in rather than laying flat and I think that is because of how I hold the pieces together to sew them up rather than laying them flat and sewing them. My novice at sewing affects how the assembled sweater drapes, but I still think it is ok looking. (Note: I did frog the tweed sleeve I started since I needed that yarn to sew up the sides.)
I really love the texture and color combo!
As for the bottom ribbing, I decided to do something different. I liked the vertical ribbing she made, but didn't want to have to try to sew a strip on to the bottom, so taking inspiration from a hat I made in the past, I worked the bottom ribbing directly onto the assembled sweater. I attached my yarn to the outside of the right collar edging when looking at it right side out, then chained 15, and worked the 14 sc back up the chain just as she had, but then slip stitched it in place at the end of the row. I repeated two rows, one of front loop single crochet and a second of single crochet only, anchoring each row to the base of the sweater with sl sts. This made it so that the ribbing around the neck seemed to flow right into the bottom ribbing. Once I got past the collar and into the body, my sc foundation row made continuing the ribbing on the bottom so easy.

Here I started skipping a stitch when working the base because a sc is a bit taller than it is wide and I wanted the bottom ribbing to be taught to the sweater. So two rows of ribbing spans over three sc stitches from the initial chain. Basically if you are looking at the front side of your work you should be working sc towards the seam, if you are looking at the back of your work you will be working front loop single crochets away from the body of your sweater.

Working the bottom onto the sweater this way was certainly not faster, but I like the way it hugs in a bit and looks seamless. I love how the dark blue seems to anchor the sweater down. I was worried that making it in two colors would make it less pretty, but I really love it.
Unlike the other few sweaters I have made (and disliked: Crocodile Cardigan, Open Air Shrug, Shell Tunic), I knew from the first second I put it on that this would be a my new favorite comfy sweater. It has a great length and goes past my butt to mid thigh just where I want it. It is both light and warm and fits over anything I'm wearing.

I can't believe that I managed to get such a large garment out of the same amount of yarn that would have made a tunisian vest... that vest would have been unbearably thick and hot. So happy with the finished item and glad that I finally made a sweater that I will wear.

Difficulty: Intermediate
Time to complete: 65 hours
Final size:
   Width of body 29"
   Width with sleeves: 37"
   Full Length: 30.5"

February 22, 2016

Socktopus 2.0

Happy Birthday to me! This year marks about 6 consecutive years that I have been posting odd stuff on this blog. So for my own pleasure, and since I said I wanted one, I decided to revisit the very first crochet project I ever made up in my head: The Socktopus!

Looking back on that post in 2010, I have to hope that my writing has improved, as well as my crochet and photography skills. Says there that the original took me a month? Wow. That seems like a long time for something seemingly so simple. I never wrote out the pattern for original Socktopus, so this time around I gave it a little more thought and planning. Socktopus will also get a nice pdf workup and be available for purchase on my patterns page.

Firstly, I changed up the colors based on my own favorites and what I had lying around. Of course I knew the main body needed to be blue, as it's my favorite color, duh. I've got this lovely Bernat Handicrafter Cotton in Sky Blue, which I used a little bit of in The Creature. I also happen to have a lot of small amounts of other cotton yarns, mostly Sugar n' Cream brand, so I pulled them all out. An all cotton yarn toy, although perhaps a little less soft, is really easy to care for, and should look great.

Each leg is the same pattern, worked from the foot up. The foot is made in your desired sock yarn and works up to the ankle area. After that it is simply 30 rows up to the body, so you can just kind of decide how high you want your sock to go, then stop and switch to the main body color. Just as an fyi, each leg takes about 2 hours to work up and finish.

Once you have all the legs done, we join them together along the outside, so that the feet/socks face out, and then add a row to widen up to attach to the bulb head. To make this easier I took some scrap yarn and tacked the insides together and then tied up the legs to make it easier to work around.

The Head is made from the crown down to the base to meet the legs, which I then sewed to the leg join rows. Last you close off the body on the underside by joining all the open loops of the legs together. I then made a little disk and sewed it into place to keep all the stuffing in.

Once the body and legs are all stuffed and closed, it was time to add the eyes. I was a bit unsure of what to do for them, but decided to stay true to the original look. I kept the eyes closed and the happy mouth but made them much more anime/amigurumi like. I also painted on some blushies with a little pink paint, just to make it super cute.
Done and so much cuter!!
It really is amazing to see your skills grow. I hope you are inspired in the same way when you look back on your first creations, whatever they may be.

Difficulty: Easy
Time to complete: 25 hours
Finished Size: 19" tall, about 6 inches wide in the head
Socktopus, like my latest patterns, has a full pdf download. Email me if you would like to purchase a copy. Unlike the other patterns I have for free, this is the first that is not based off a copyrighted character.

February 15, 2016

The Creature

Back in 2008, I put up a short post about an Illustrator drawing I did of the Creature (from Samurai Jack, season 3, episode 33, a cartoon by Genndy Tartakovsky). With the recent news that the show is to return this year, I thought it might be fun to revisit this character. Also, if you have not watched this show, GET ON IT. It's seriously great and has some excellent stories. If you need further proof know that it is the only instance in which the font Papyrus does not drive me up a wall. Yeah.

The Creature, as it is called, is the most obvious of references in this episode to the works of Hayao Miyazaki, which is chock full of them. Itself being a parody of the noble Totoro, of which I have great fondness. The episode itself is sometimes called the Crystal of Cagliostro, a reference to the film, the Castle of Cagliostro, which was Miyazaki's feature length directorial debut film.

So, for this post, I decided to try to make a crochet plush of the Creature. The picture above is very similar to the scene where one of the characters meets Totoro in the forest for the first time. The creature does seem to get a bit smaller as the episode progresses.

First things first was to find all the colors I would need. A teal for the main body, a light teal for the belly, light blue for the belly details, darker blue for the arms and ears, yellow for eyes, dark pint for mouth, pink for tongue, white for teeth, a little green for his head leaf things, and black for embroidery. I decided to also pull a little light yellow to maybe make a pair of those butterflies that fly around his head.

Most colors I just had bits of on hand but I bought a new skein of With Love by Red Heart in Blue Hawaii (a teal color) for the body to make sure I had enough for all the parts. I also use Bernat Handicrafter Cotton in Sky Blue (in the Nautical color series that was discontinued) for the lightest bits, and Red Heart Soft in Teal for the darkest bits.

For a simple looking creature, he actually had a lot of parts and I wanted to get some of the larger details right. I first set about making a body shape that I think felt right as I was making this up as I went along. Of course, once I had him mostly finished at the end of this process I realized I could have made his belly and lower body a bit larger. The face is made up of eight parts, which then get some embroidery to really pull it all together.

The ears were a bit of a challenge, since I wanted to keep the shape and colors correct. So they are made from two parts that snug together and then get sewn down. It was also important to me to get them to face the right way once sewn on.

The arms are a fairly simple shape and I kept the increases to the edges to give it a flatter shape in the upper arm. A few lines to get the fingers and they were complete.

I had originally thought to do the arms and legs from the same pattern but the arms are a solid color where as the legs have two colors. So these are made from two shapes that get sewn together and stuffed. I then added the foot pad and a little embroidery for the toes and toe pads.

I also went back and watched the episode to make sure he had a tail, which I remembered him having, but he does not in fact have. It is instead a light peach bare butt. This thing is pretty funny looking. So I made nice peach oval and sewed it in place.


As I started stuffing and sewing the pieces down he really started to come together. The little bits of embroidery really help and I'm so happy with how all the colors look together.

Finally I decided to make him the three head leaves and two flies, which are seen fluttering about his head. Since the leaves stand up on his head, I stiffened them with a mixture of water and glue.

While letting the leaves dry I was able to put all the rest of the parts on and get a good look at my Creature. He's really spot on I think, except being a bit short, but really cute.

With the leaves added, he is complete. I kept thinking about ordering another voice box for him, as he makes some truly great sounds in the episode, but for now I have other items to be moving on to.
Finished!
Difficulty: Intermediate
Time to Complete: 35 hours
Finished Size: about 13" tall and 10" wide
As with Lion and Blathers, the Creature has a full pdf pattern and if you would like it feel free to email me a request.