we now have tiny Mr. Skeeses.
Made these for this past Christmas for two students who graduate recently. I figured a disapproving teacher might be helpful for college. These are nicely palm sized and really great for lobbing at people while shouting "disapproving mr skees!"
I get a little silly when making these.
I used a basic head and body pattern and changed colors appropriately to make a head, shirt and pants. A pair of tiny arms and a pair of safety eyes completed the base.
 |
| Bases complete |
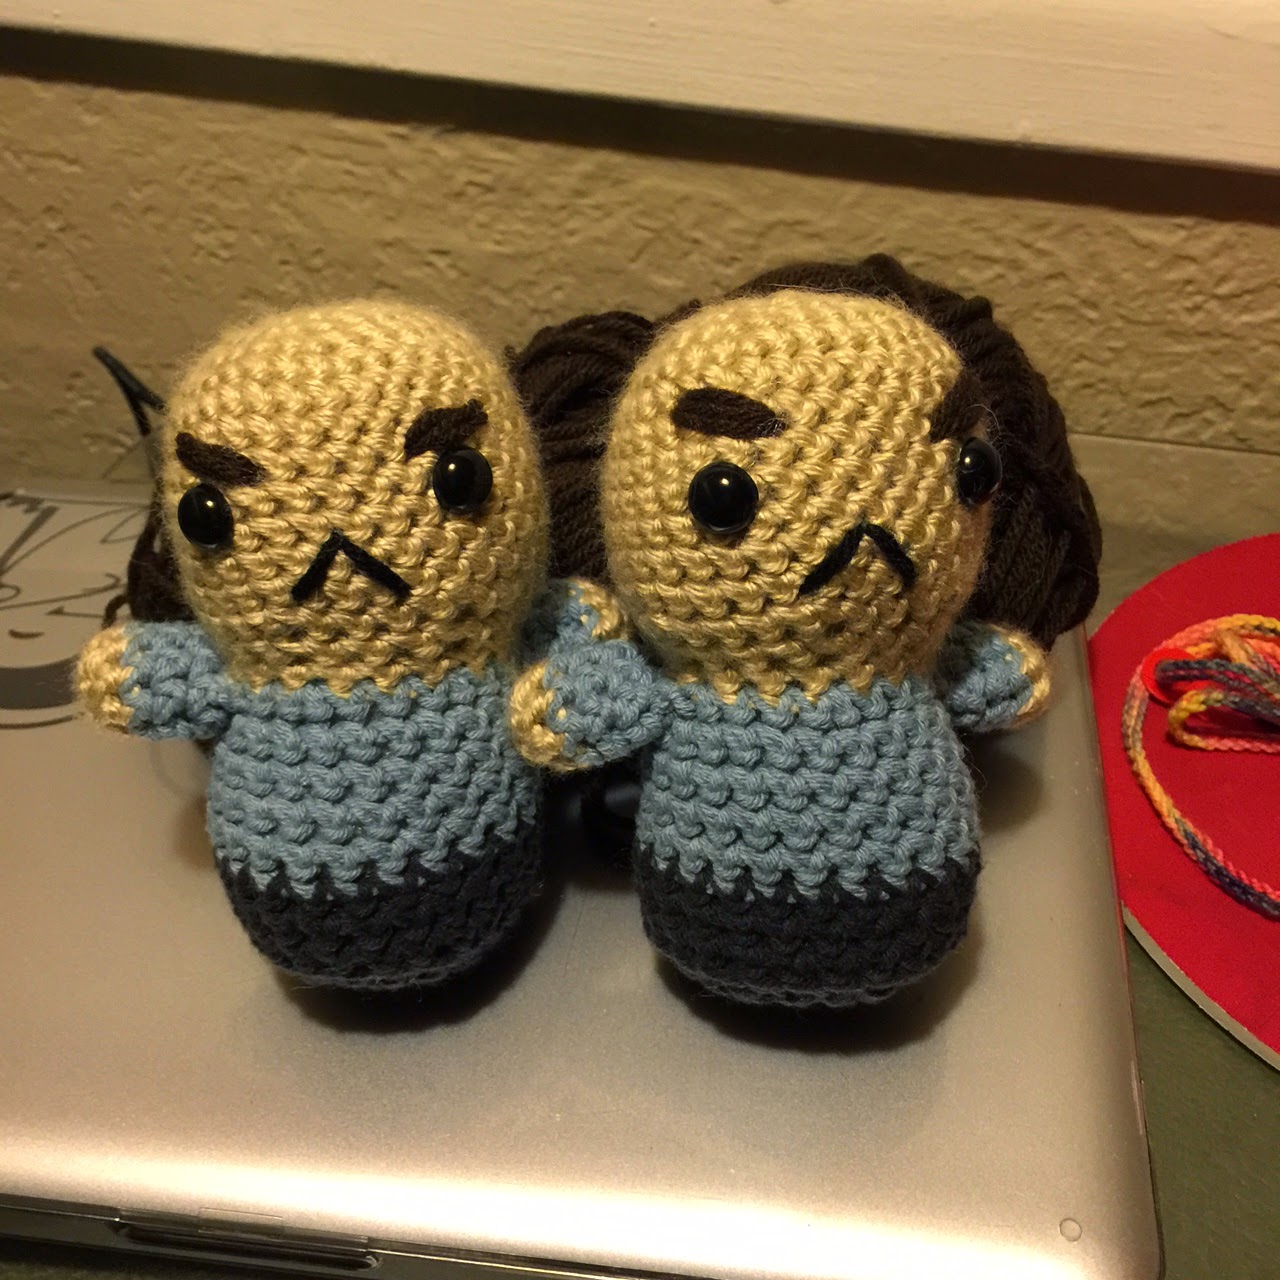
A little embroidery for eyebrows, a frowny mouth, collar and tie completed the details. Sewed the hair cap down and I was happy to call these finished.
 |
| Resistance is futile. |
Difficulty: Easy
Making Christmas presents for certain kids and not their siblings (who also are friends of ours) is no bueno. This person had sent me a picture a while back of AllAboutAmi's Elephants, squeeing as to their cuteness. I saved the pattern down and figured I would make one for her eventually. Now seemed a good time.
After discreetly asking which color she preferred, pink or gray, I found an almost full skein of light gray which I believe is a Bernat Satin yarn. I know the pattern calls for a 2.75mm hook but as that seems absurdly small, especially for, if thin, worsted weight, I decided to go with a F/3.75mm hook instead.
The body is a bit difficult simply because most of the rows do not repeat around. I found it helpful to keep my cursor over where I was at in the row to make sure I did not skip any instructions or increases. It felt a little dangerous to cut the yarn and move on to the tab since I was running out of yarn at this point. Creating the leg chains was also a little odd, but once I got them done I could see how they would work.
 |
| Body bottom with leg chains and one leg done. You can see where the trunk goes and the tab. |
The belly piece is a simple circle. I stuffed pretty full then sewed up around half of the belly to the back legs. I added a bit more stuffing and finished sewing around. This completed the body.
Instead of sewing fabric into the ears, I used a little light pink to make little ovals to add on. Those little ovals are actually just the first four rows of the ear pattern. I bound them off and sewed them on to the finished ears with gray, so that you wouldn't see the stitches.
 |
| so you can see the pink |
 |
| from the side |

Time to complete: 8 hours
Difficulty: Medium... making all the leg chains and working them up is a little challenging if you haven't done something like it before.
So there you go, quick and cute homemade Christmas presents!